.svg)
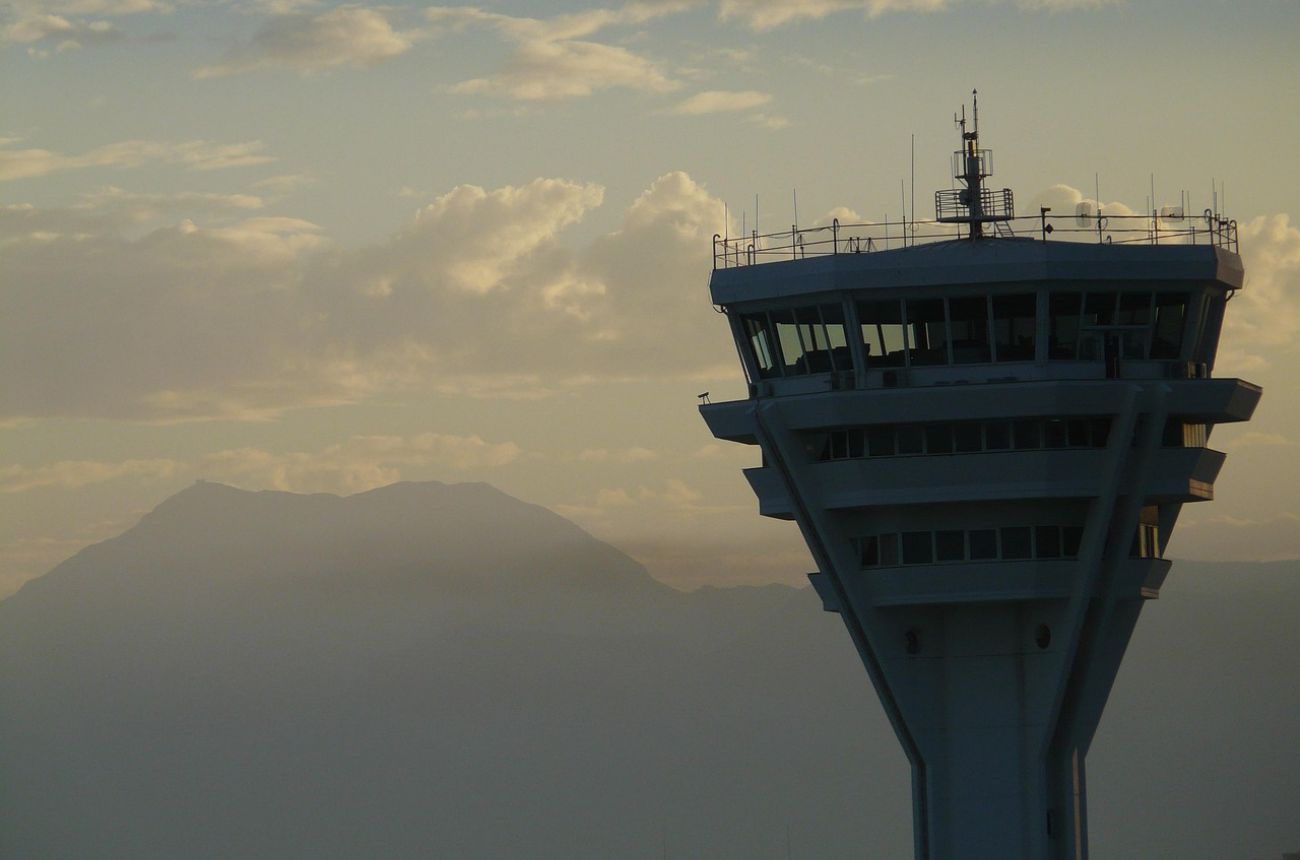


(Refer to FAA-CT-8080-2H.pdf, Figure 25, Area 2.) The control tower frequency for Addison Airport is
Imported item 39


The correct answer is:

Open up Figure 25 in the FAA-CT-8080-2H pdf. The problem statement tells us to look for Area 2.
Area 2 is shown on the figure as a red wine color circle with the number 2 inside the red wine color circle. We look for a control tower symbol near this airport which will be denoted by a “CT”.
The number that follows will be the frequency to be used. There, we see 126.0 MHz as the frequency to be used by the radio in order to talk to the control tower.
That's correct! Good job
Open up Figure 25 in the FAA-CT-8080-2H pdf. The problem statement tells us to look for Area 2.
Area 2 is shown on the figure as a red wine color circle with the number 2 inside the red wine color circle. We look for a control tower symbol near this airport which will be denoted by a “CT”.
The number that follows will be the frequency to be used. There, we see 126.0 MHz as the frequency to be used by the radio in order to talk to the control tower.
You had one drink 10 hours ago and estimate BAC 0.02%. May you act as a remote pilot in command?
Imported item 40
The correct answer is:
You can not operate a UAS if you've consumed any alcohol in the past 8 hours or if your blood-alcohol-content is 0.04 or greater.
That's correct! Good job
You can not operate a UAS if you've consumed any alcohol in the past 8 hours or if your blood-alcohol-content is 0.04 or greater.
Someone studying for the Part 107 test says something like, “I'm just gonna wing studying for this test. I dont need to learn this stuff. Nothing's gonna happen while I fly".
Imported item 41
The correct answer is:
Dismissing risk with “won’t happen to me” is invulnerability; the antidote is to accept that it could happen to you and act accordingly.
Some of the other attitudes identified by the FAA are:
-Anti authority: don’t tell me what to do.
-Impulsivity: do things without planning
-Macho: taking risks to impress others or oneself.
-Resignation: what I do doesn’t matter because I’m just one of many. Because I am one of many, I shouldn’t bother to follow the rules.
That's correct! Good job
Dismissing risk with “won’t happen to me” is invulnerability; the antidote is to accept that it could happen to you and act accordingly.
Some of the other attitudes identified by the FAA are:
-Anti authority: don’t tell me what to do.
-Impulsivity: do things without planning
-Macho: taking risks to impress others or oneself.
-Resignation: what I do doesn’t matter because I’m just one of many. Because I am one of many, I shouldn’t bother to follow the rules.
Refer to FAA-CT-8080-2H, Figure 48. Area E indicates what about the airport?
Imported item 42
The correct answer is:
A — Runway hold position sign (“4-22”). Stop here; do not enter Runway 4/22 without clearance.
B — Runway approach hold sign (“4-APCH”). Hold here to protect the approach to Runway 4 when instructed.
C — ILS critical area hold sign (“ILS”). Hold here when the ILS is in use or when told.
D — No-entry sign. Do not enter this taxiway/runway from this direction.
E — Taxiway location sign (“B”). You are on Taxiway B.
F — Runway location sign (“22”). You are on Runway 2-2.
G — Runway hold position marking (two solid/two dashed). Stop here before proceeding. Wait for ATC to tell you can enter runway.
H — ILS critical area marking (ladder pattern). Hold here to keep clear of the ILS area.
I — Destination sign (“TERM →”). Follow the arrow to the Terminal.
J — Runway direction sign (“22 →”). Arrow points toward Runway 2-2.
K — Taxiway direction sign (“B →”). Arrow points toward Taxiway B.
L — Runway distance remaining sign (“4”). 4,000 feet of runway remain.
M — Hot Spot sign (“HS-1”). History of confusion/incursions here—use extra caution.
N — Taxiway shoulder / unusable-surface marking (diagonal stripes). Not for taxiing or aircraft use.
That's correct! Good job
A — Runway hold position sign (“4-22”). Stop here; do not enter Runway 4/22 without clearance.
B — Runway approach hold sign (“4-APCH”). Hold here to protect the approach to Runway 4 when instructed.
C — ILS critical area hold sign (“ILS”). Hold here when the ILS is in use or when told.
D — No-entry sign. Do not enter this taxiway/runway from this direction.
E — Taxiway location sign (“B”). You are on Taxiway B.
F — Runway location sign (“22”). You are on Runway 2-2.
G — Runway hold position marking (two solid/two dashed). Stop here before proceeding. Wait for ATC to tell you can enter runway.
H — ILS critical area marking (ladder pattern). Hold here to keep clear of the ILS area.
I — Destination sign (“TERM →”). Follow the arrow to the Terminal.
J — Runway direction sign (“22 →”). Arrow points toward Runway 2-2.
K — Taxiway direction sign (“B →”). Arrow points toward Taxiway B.
L — Runway distance remaining sign (“4”). 4,000 feet of runway remain.
M — Hot Spot sign (“HS-1”). History of confusion/incursions here—use extra caution.
N — Taxiway shoulder / unusable-surface marking (diagonal stripes). Not for taxiing or aircraft use.
Refer to FAA-CT-8080-2H, Figure 65. Which airport signage indicates what taxiway the pilot is currently on?
Imported item 43
The correct answer is:
A — Runway hold position sign (“4-22”). Stop here; do not enter Runway 4/22 without clearance.
B — Runway approach hold sign (“4-APCH”). Hold here to protect the approach to Runway 4 when instructed.
C — ILS critical area hold sign (“ILS”). Hold here when the ILS is in use or when told.
D — No-entry sign. Do not enter this taxiway/runway from this direction.
E — Taxiway location sign (“B”). You are on Taxiway B.
F — Runway location sign (“22”). You are on Runway 2-2.
G — Runway hold position marking (two solid/two dashed). Stop here before proceeding. Wait for ATC to tell you can enter runway.
H — ILS critical area marking (ladder pattern). Hold here to keep clear of the ILS area.
I — Destination sign (“TERM →”). Follow the arrow to the Terminal.
J — Runway direction sign (“22 →”). Arrow points toward Runway 2-2.
K — Taxiway direction sign (“B →”). Arrow points toward Taxiway B.
L — Runway distance remaining sign (“4”). 4,000 feet of runway remain.
M — Hot Spot sign (“HS-1”). History of confusion/incursions here—use extra caution.
N — Taxiway shoulder / unusable-surface marking (diagonal stripes). Not for taxiing or aircraft use.
That's correct! Good job
A — Runway hold position sign (“4-22”). Stop here; do not enter Runway 4/22 without clearance.
B — Runway approach hold sign (“4-APCH”). Hold here to protect the approach to Runway 4 when instructed.
C — ILS critical area hold sign (“ILS”). Hold here when the ILS is in use or when told.
D — No-entry sign. Do not enter this taxiway/runway from this direction.
E — Taxiway location sign (“B”). You are on Taxiway B.
F — Runway location sign (“22”). You are on Runway 2-2.
G — Runway hold position marking (two solid/two dashed). Stop here before proceeding. Wait for ATC to tell you can enter runway.
H — ILS critical area marking (ladder pattern). Hold here to keep clear of the ILS area.
I — Destination sign (“TERM →”). Follow the arrow to the Terminal.
J — Runway direction sign (“22 →”). Arrow points toward Runway 2-2.
K — Taxiway direction sign (“B →”). Arrow points toward Taxiway B.
L — Runway distance remaining sign (“4”). 4,000 feet of runway remain.
M — Hot Spot sign (“HS-1”). History of confusion/incursions here—use extra caution.
N — Taxiway shoulder / unusable-surface marking (diagonal stripes). Not for taxiing or aircraft use.